01 / Eave
THE FIRST CONNECTION.
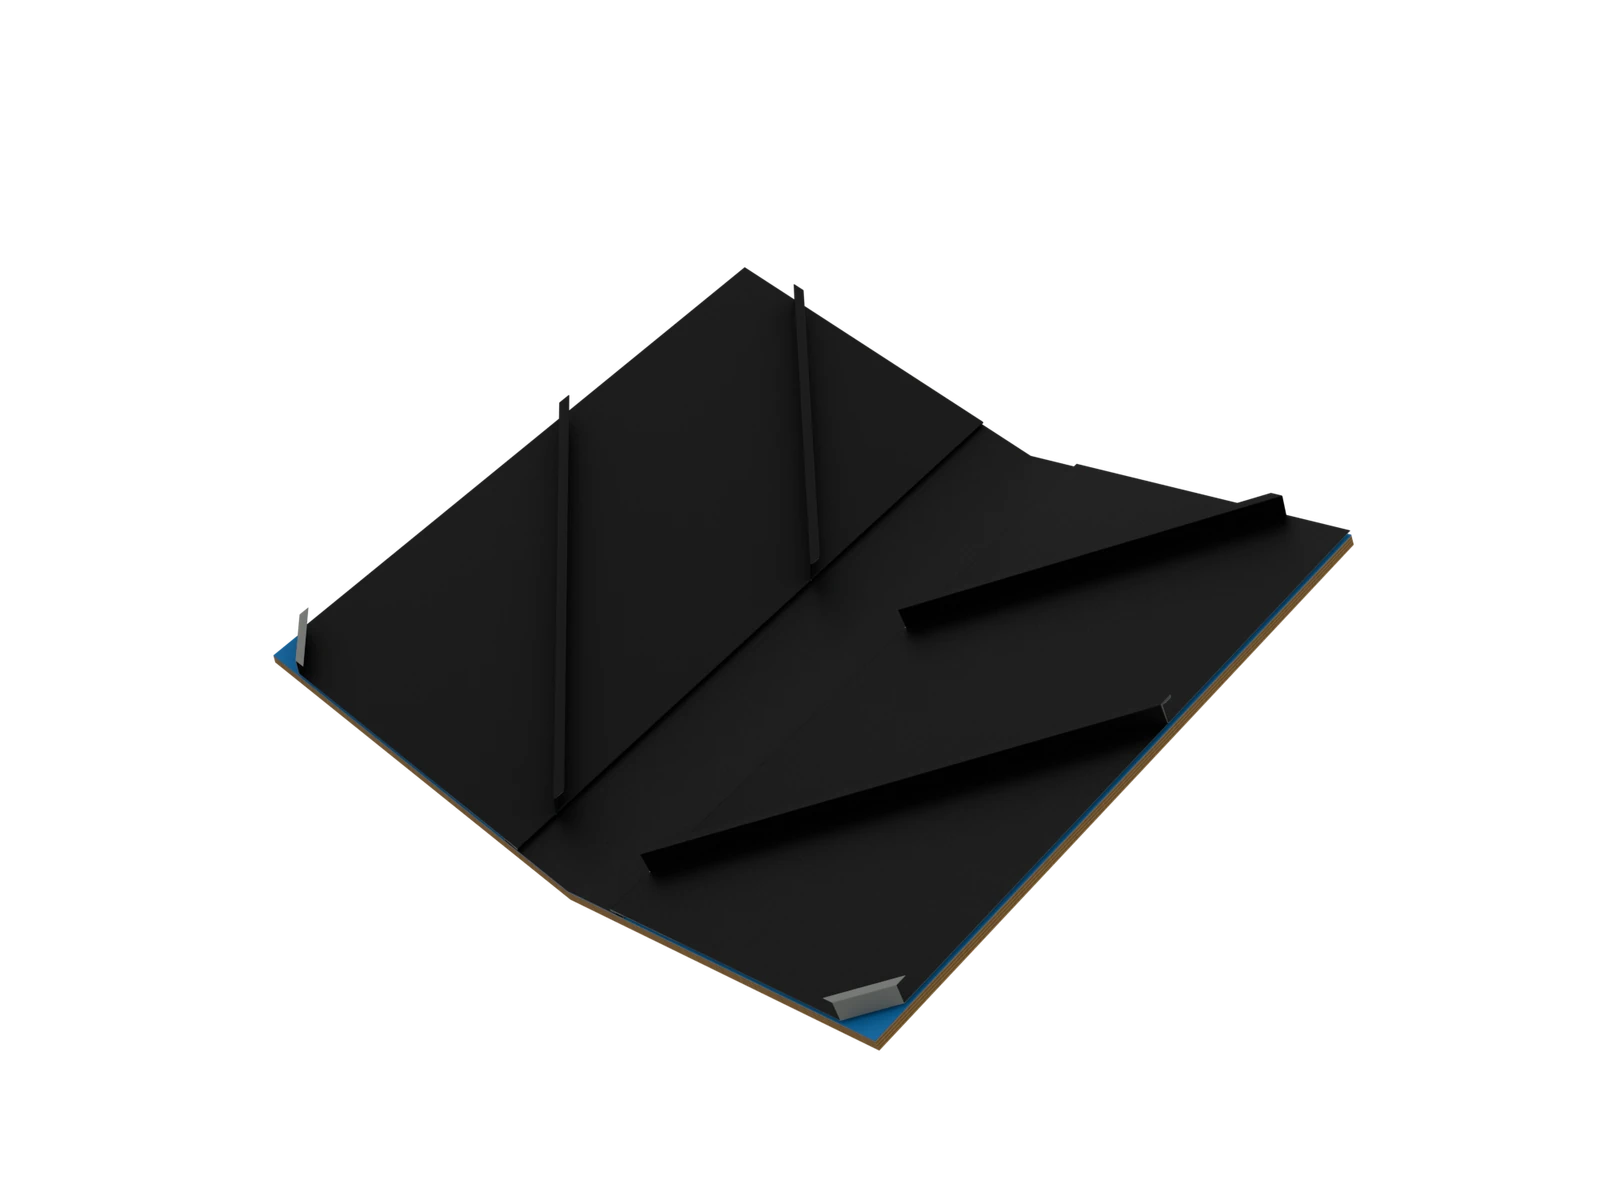
The roof begins with a physical lock. Prepared panel ends fold around the double-fold starter at the eave.
Folded around. Locked in.
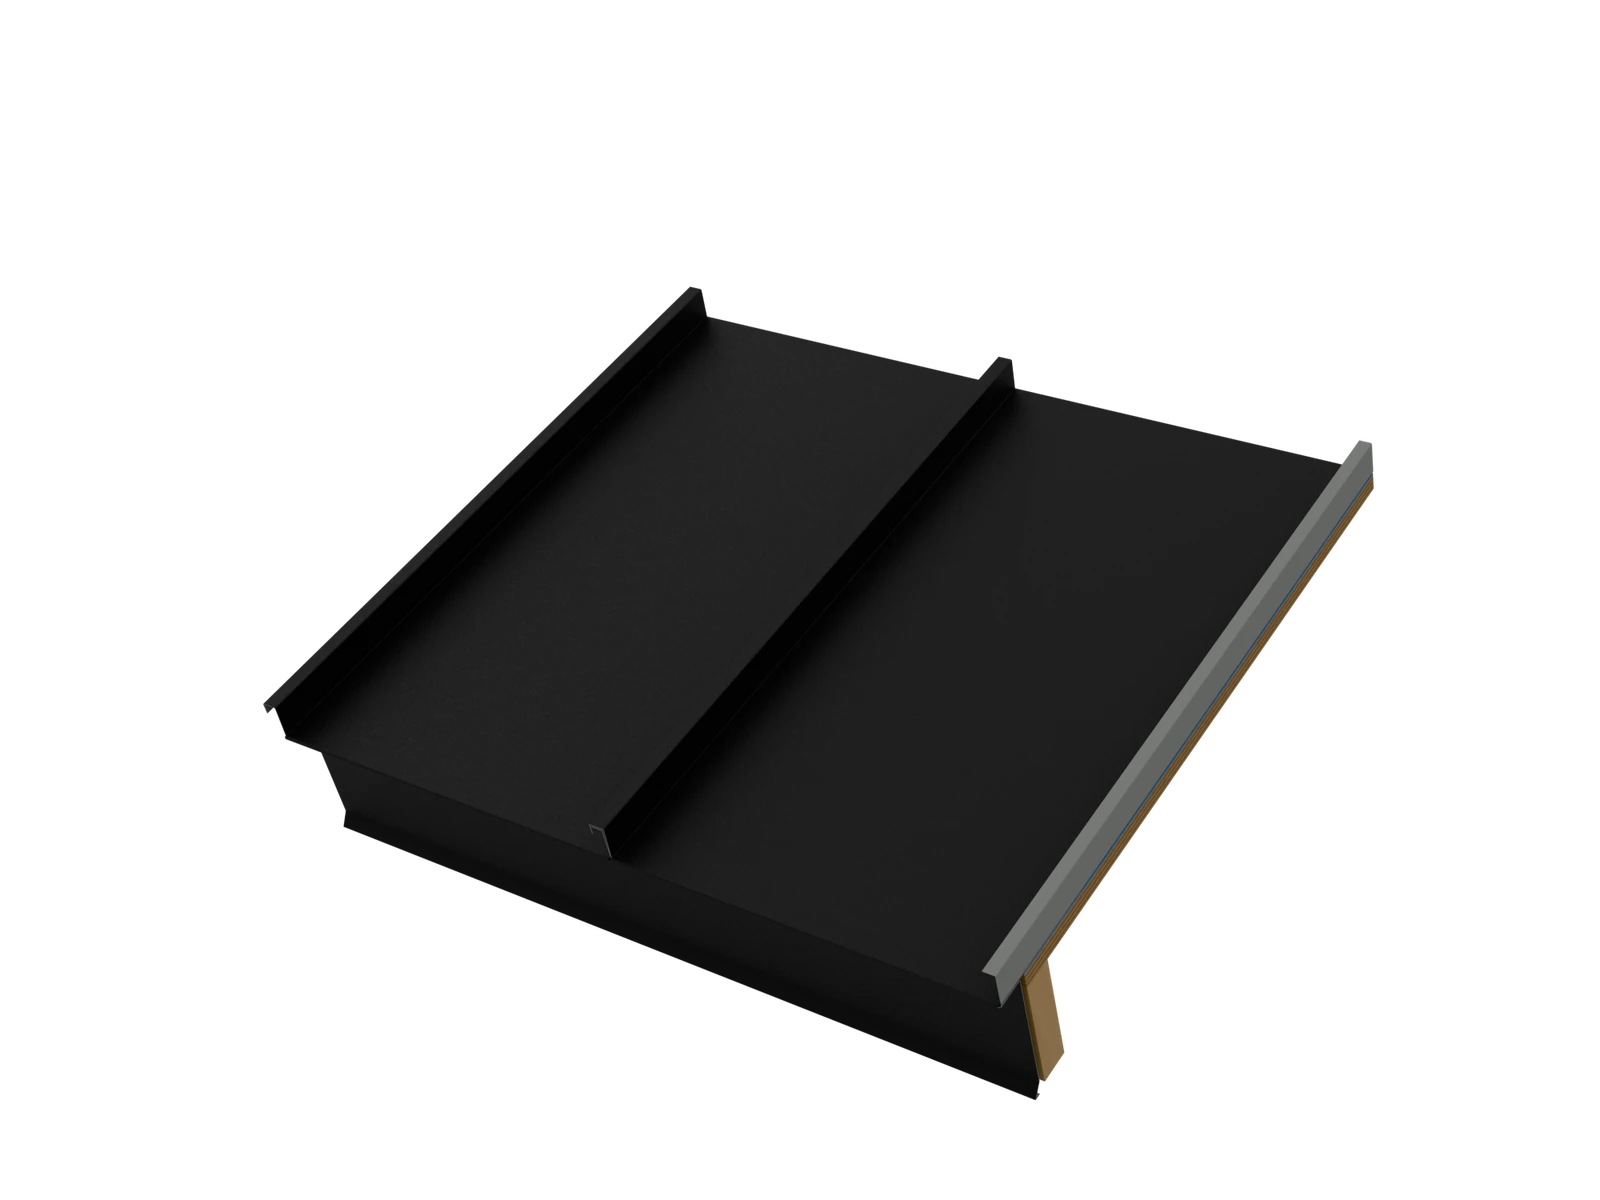

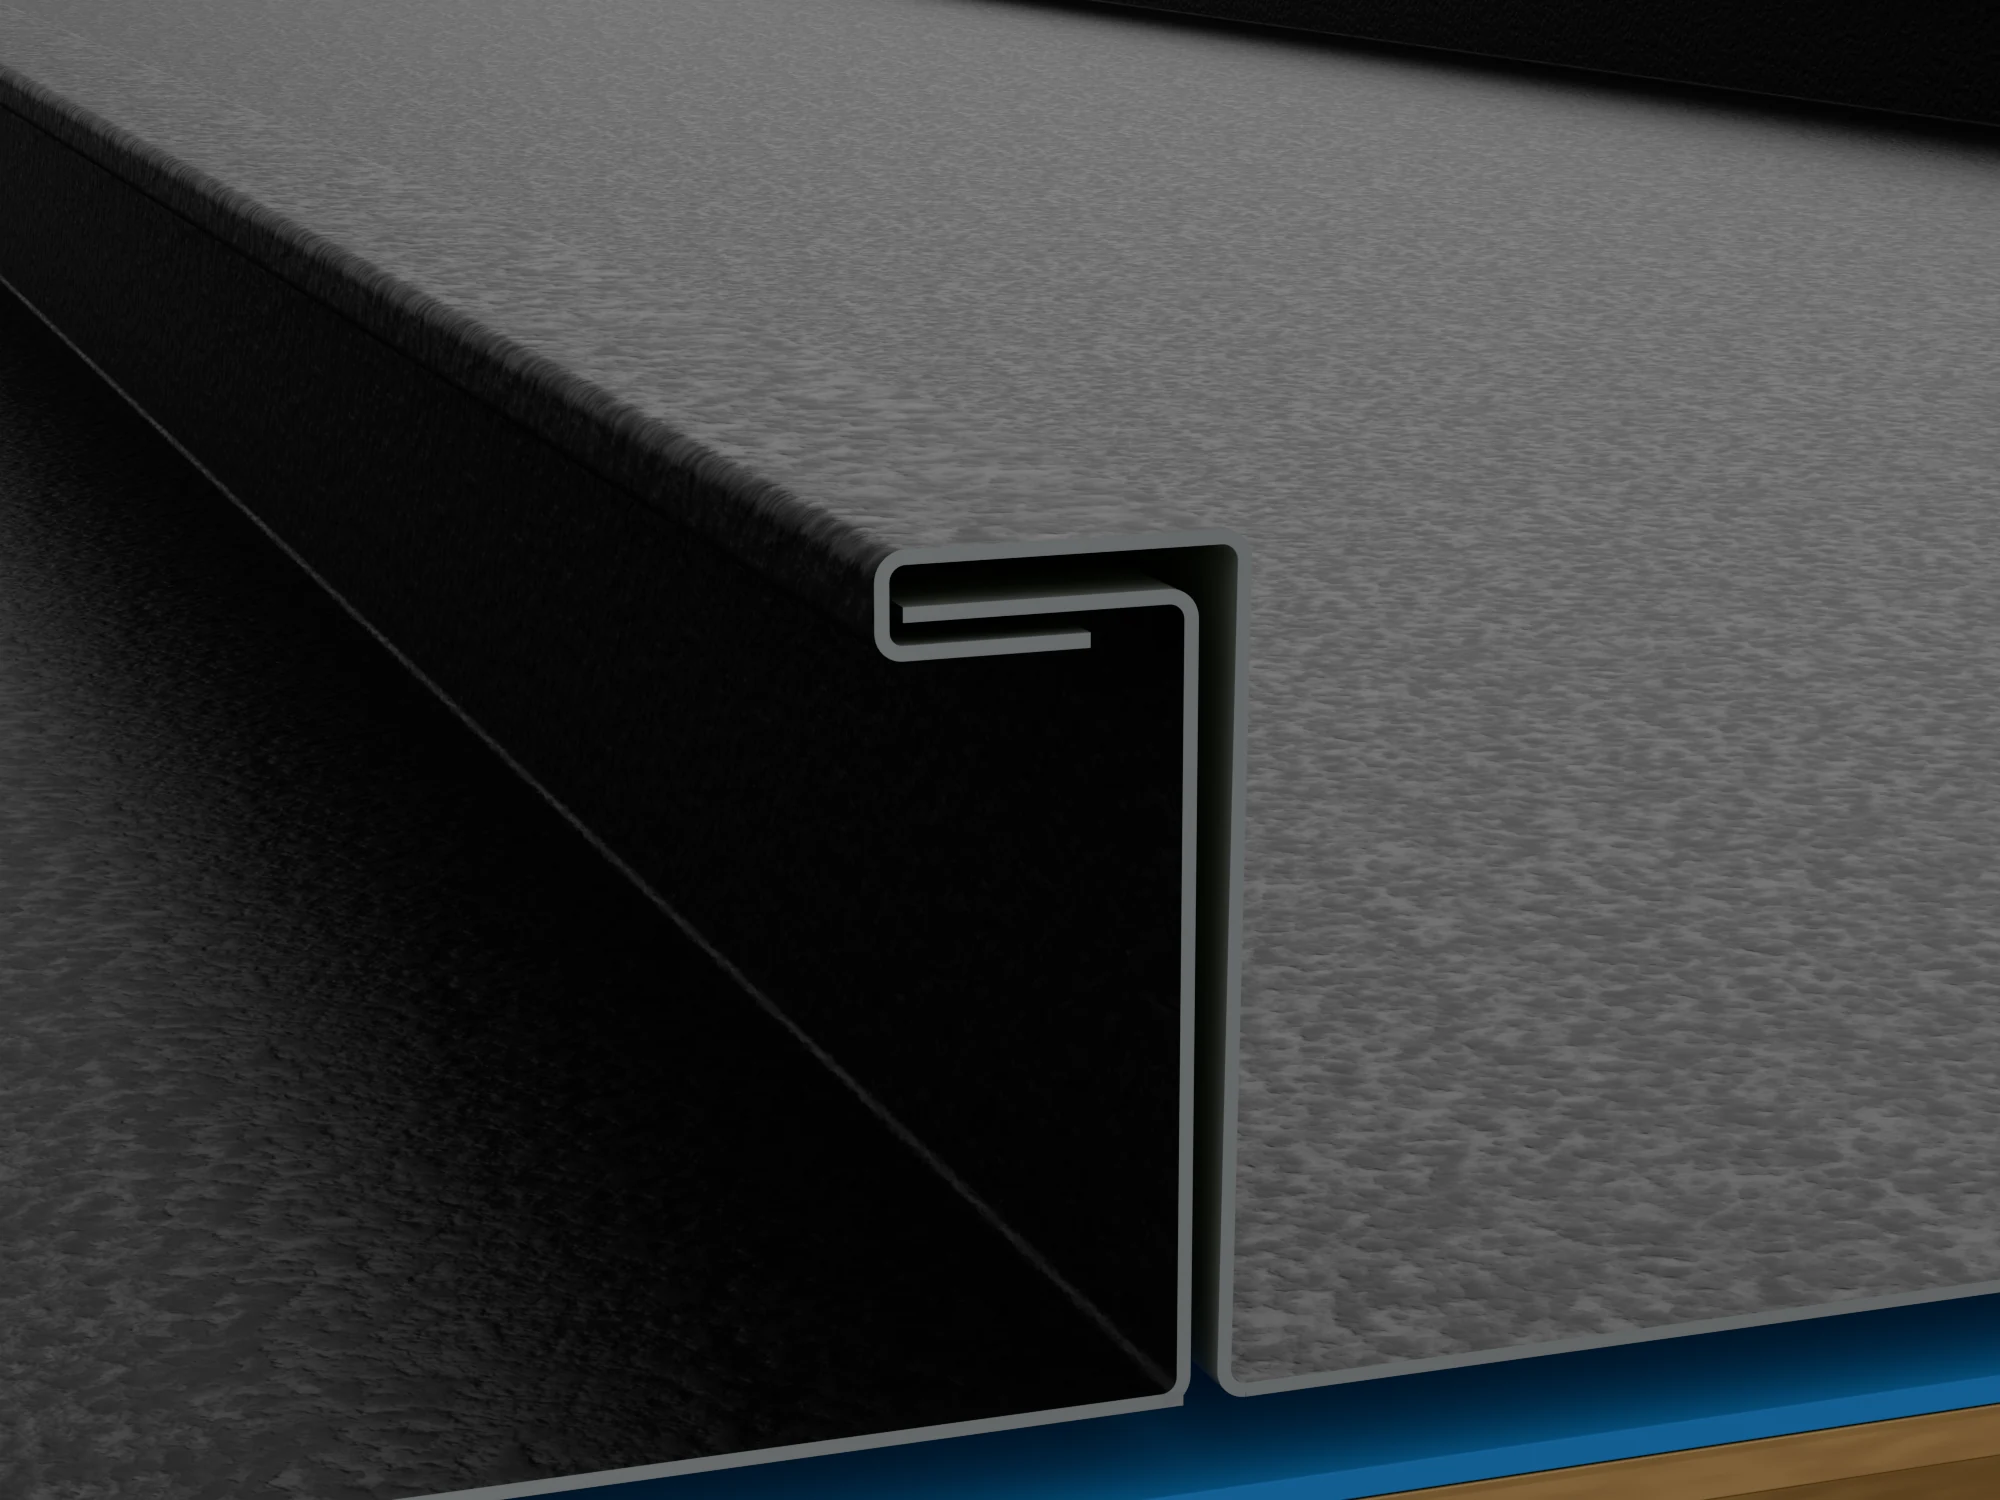
No foam fillers. No shortcuts.Our flashings are cut, folded and mechanically locked into place—with the same care on every roof.
See the difference in how we build01 / 05 Eave
The roof begins with a physical lock. Prepared panel ends fold around the double-fold starter at the eave.
Double-fold starter
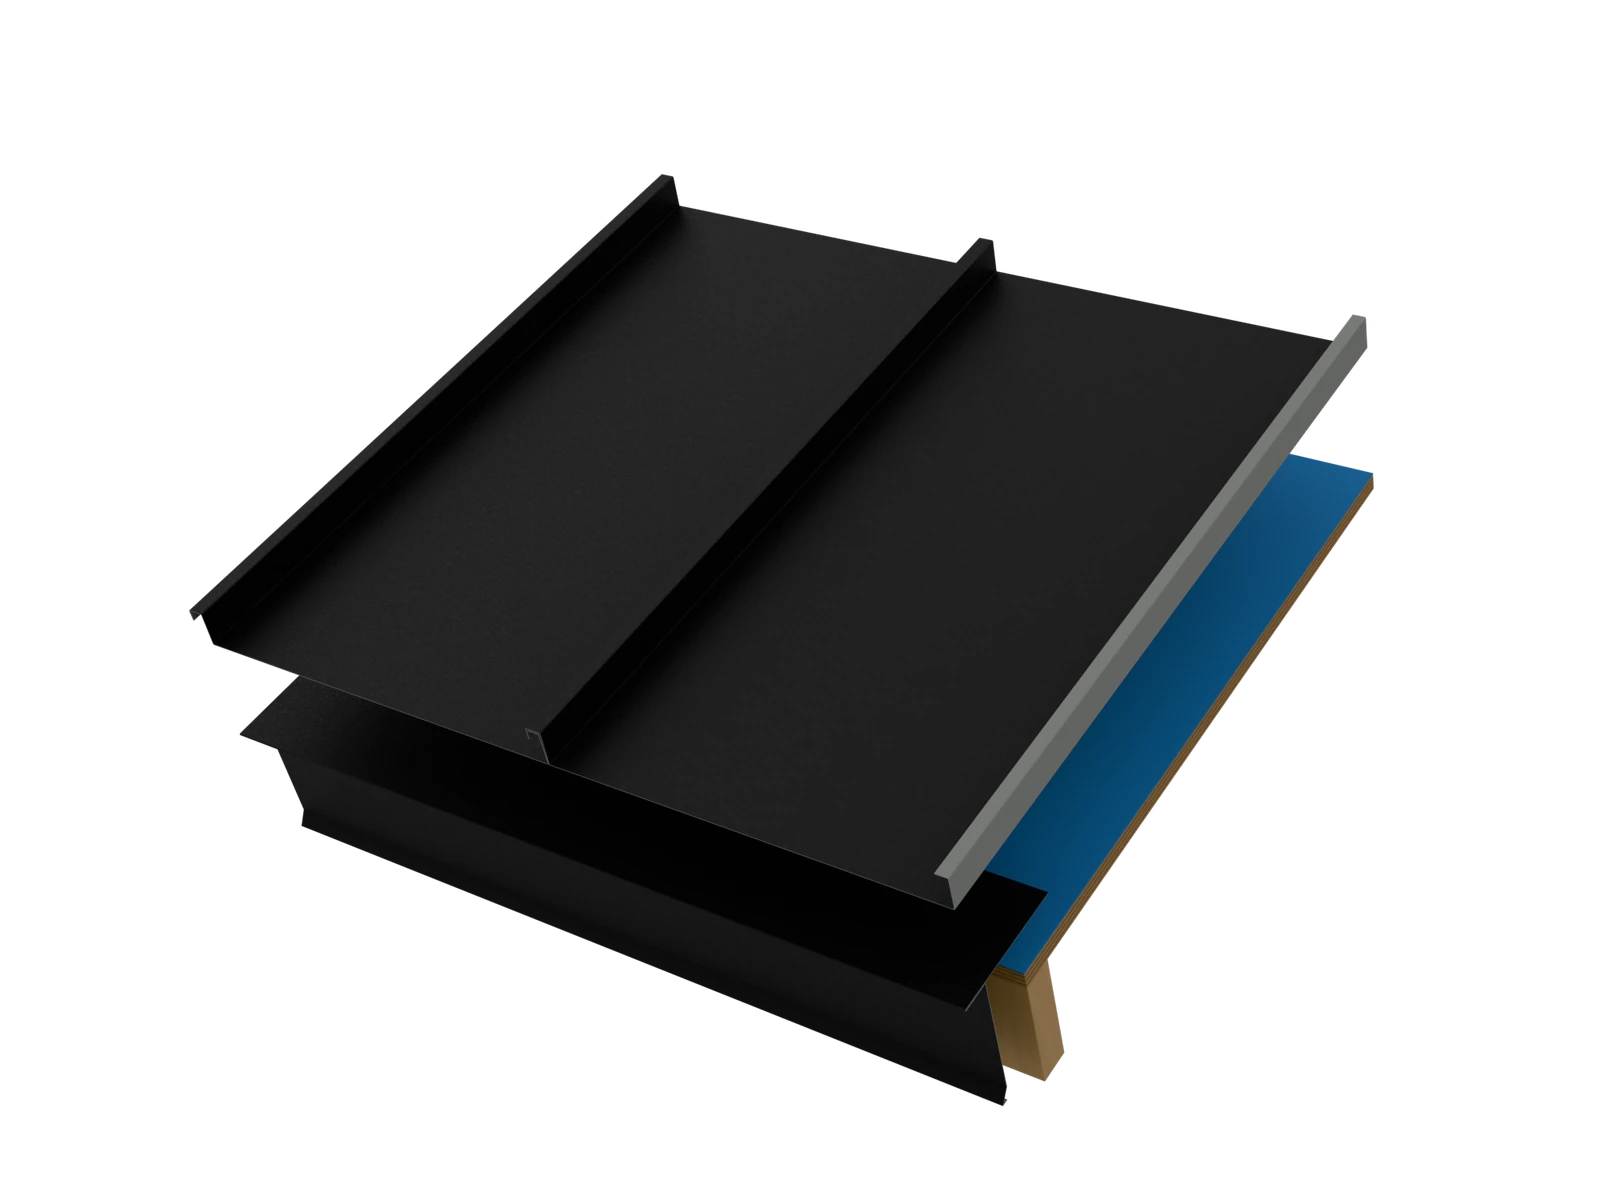
The panel, starter and roof build-up are separated so you can see how they meet.
Scroll to build · Or choose a stage below
01 / Eave
The roof begins with a physical lock. Prepared panel ends fold around the double-fold starter at the eave.
Folded around. Locked in.
02 / Gable
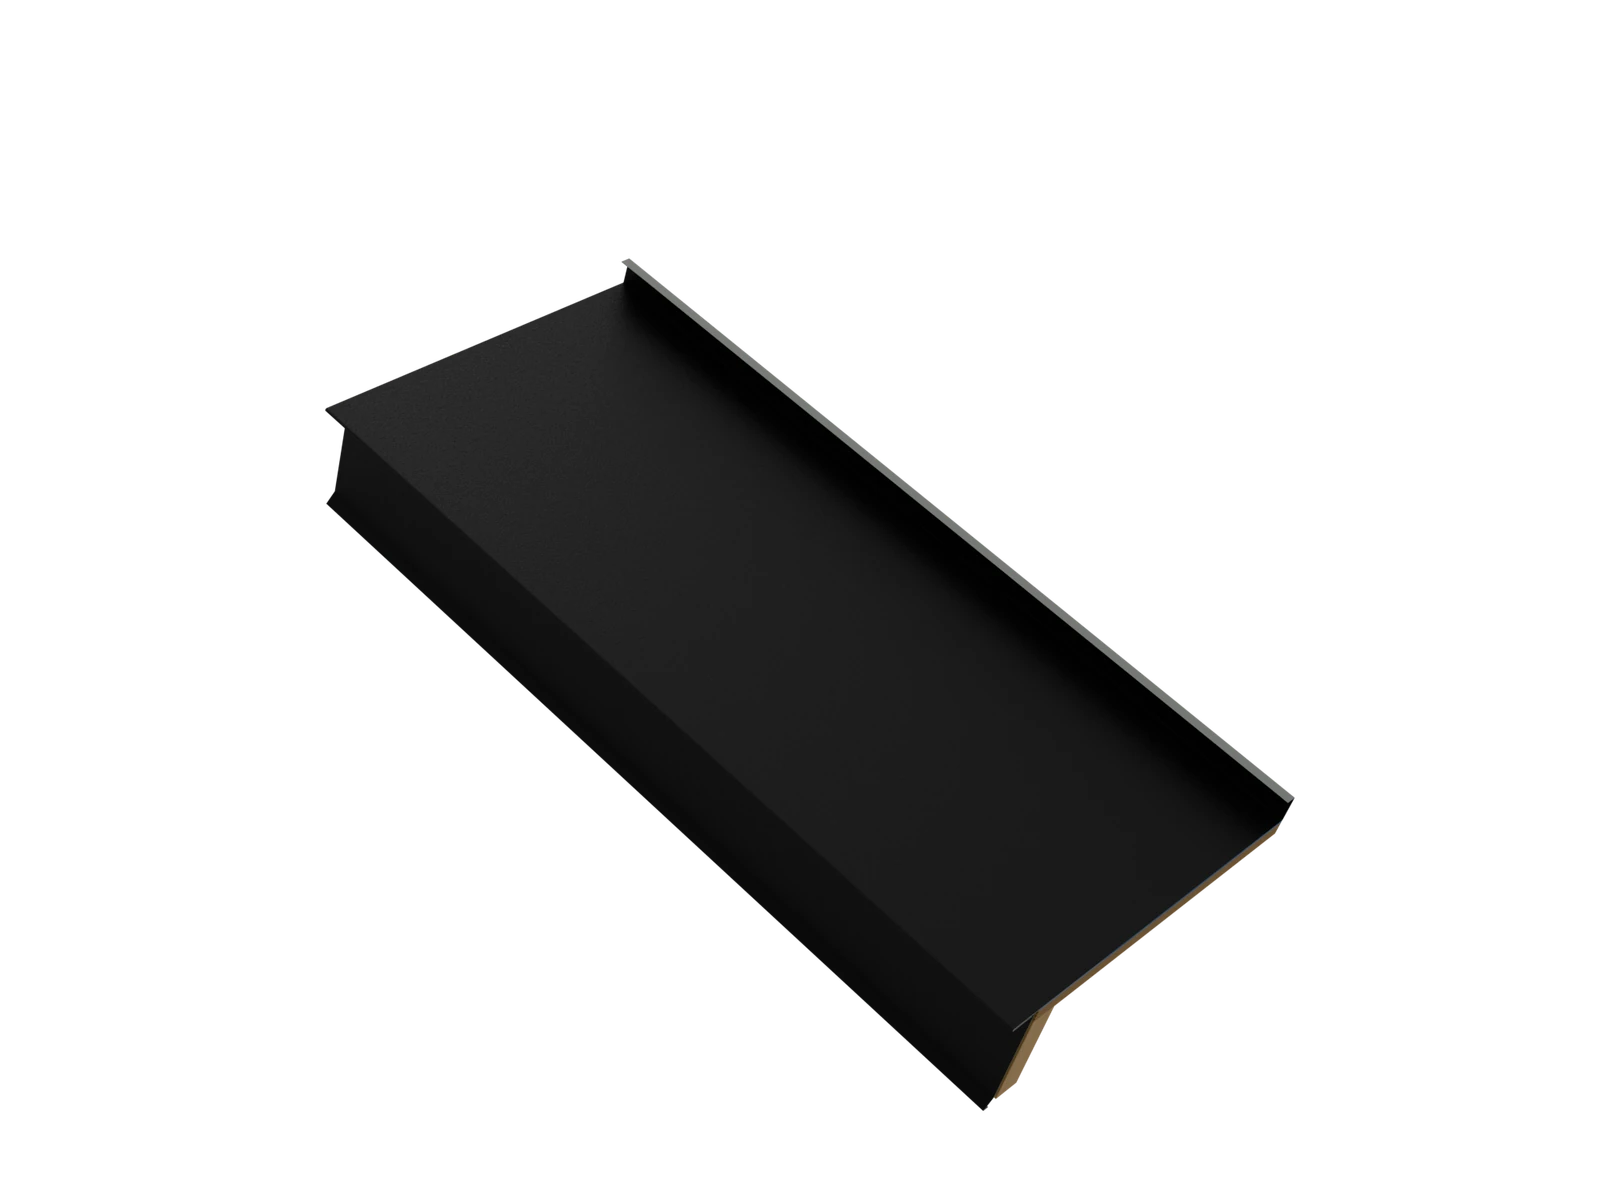
The same care continues up the roofline. A prepared panel edge rolls around the receiving gable detail.
One continuous return.
03 / Valley
Where roof planes meet, the panels are cut to the valley angle, then folded into an S-lock connection.
A deliberate path for water.
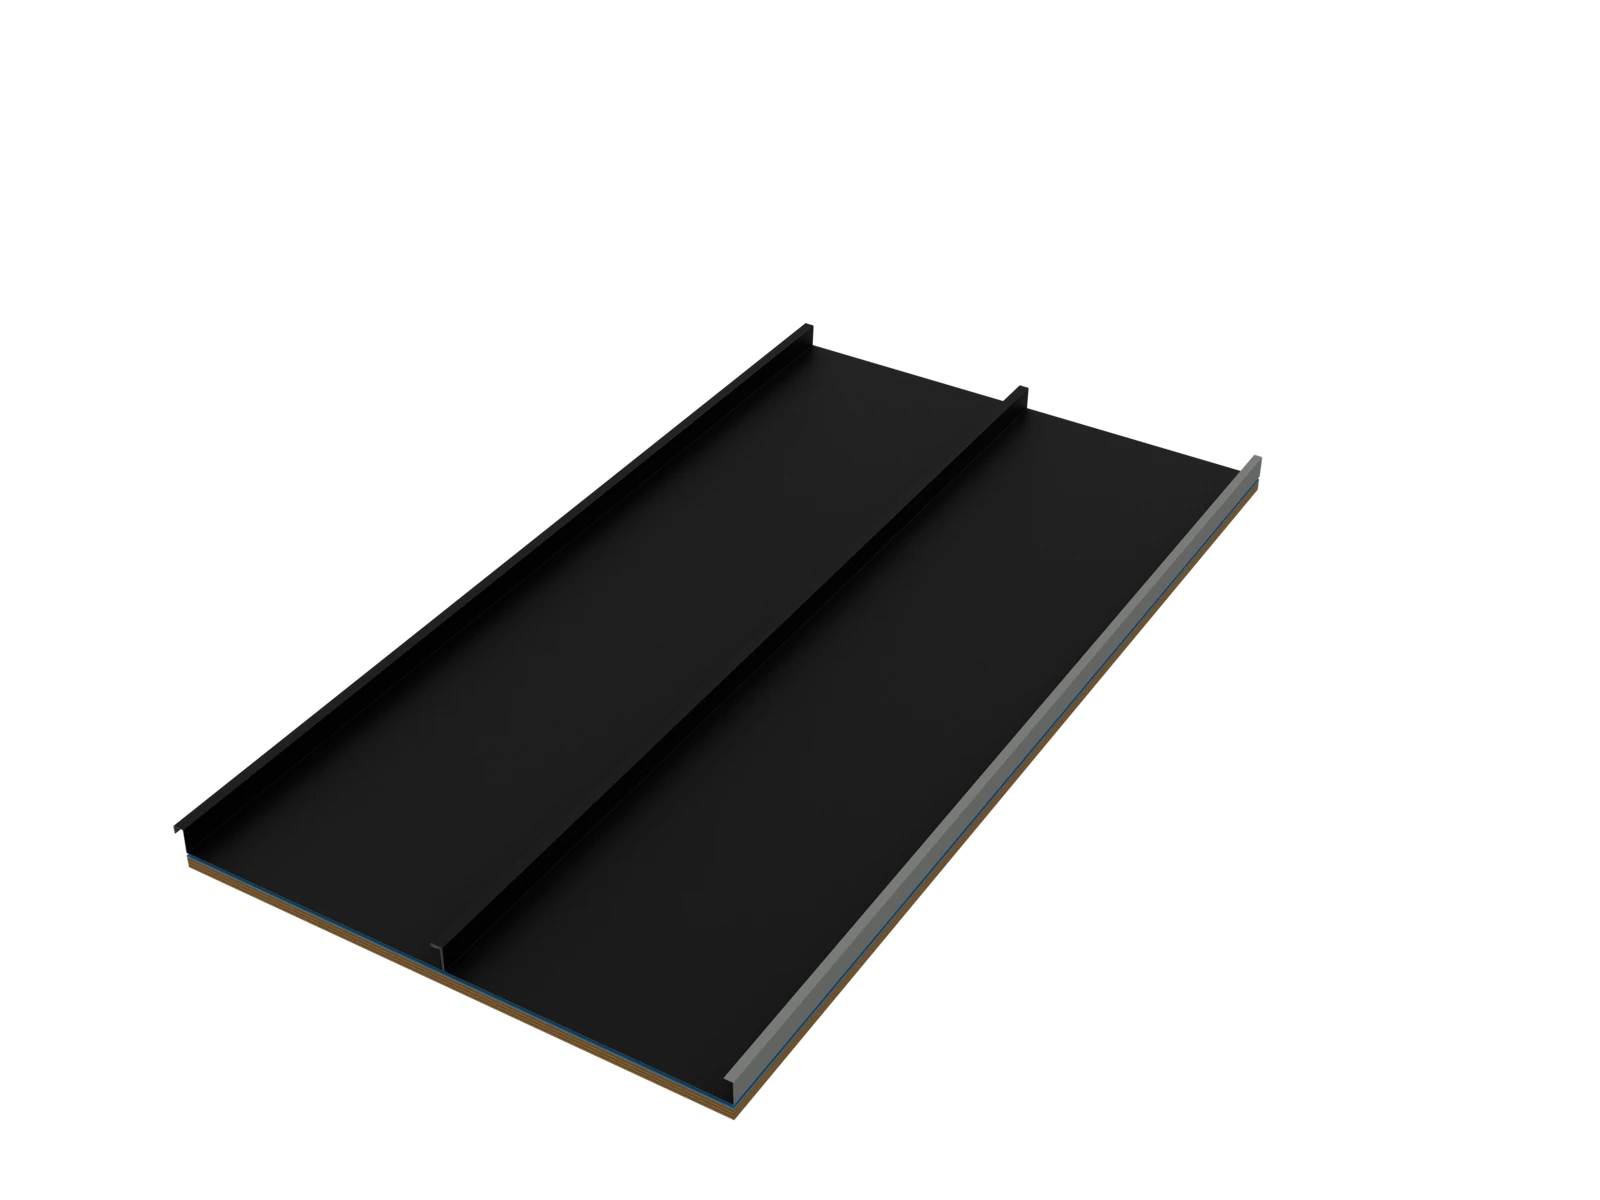
04 / Clips & seam
Concealed clips secure the panels. Engaged male and female edges are then mechanically seamed into their final locked form.
The fastening disappears. The connection stays.
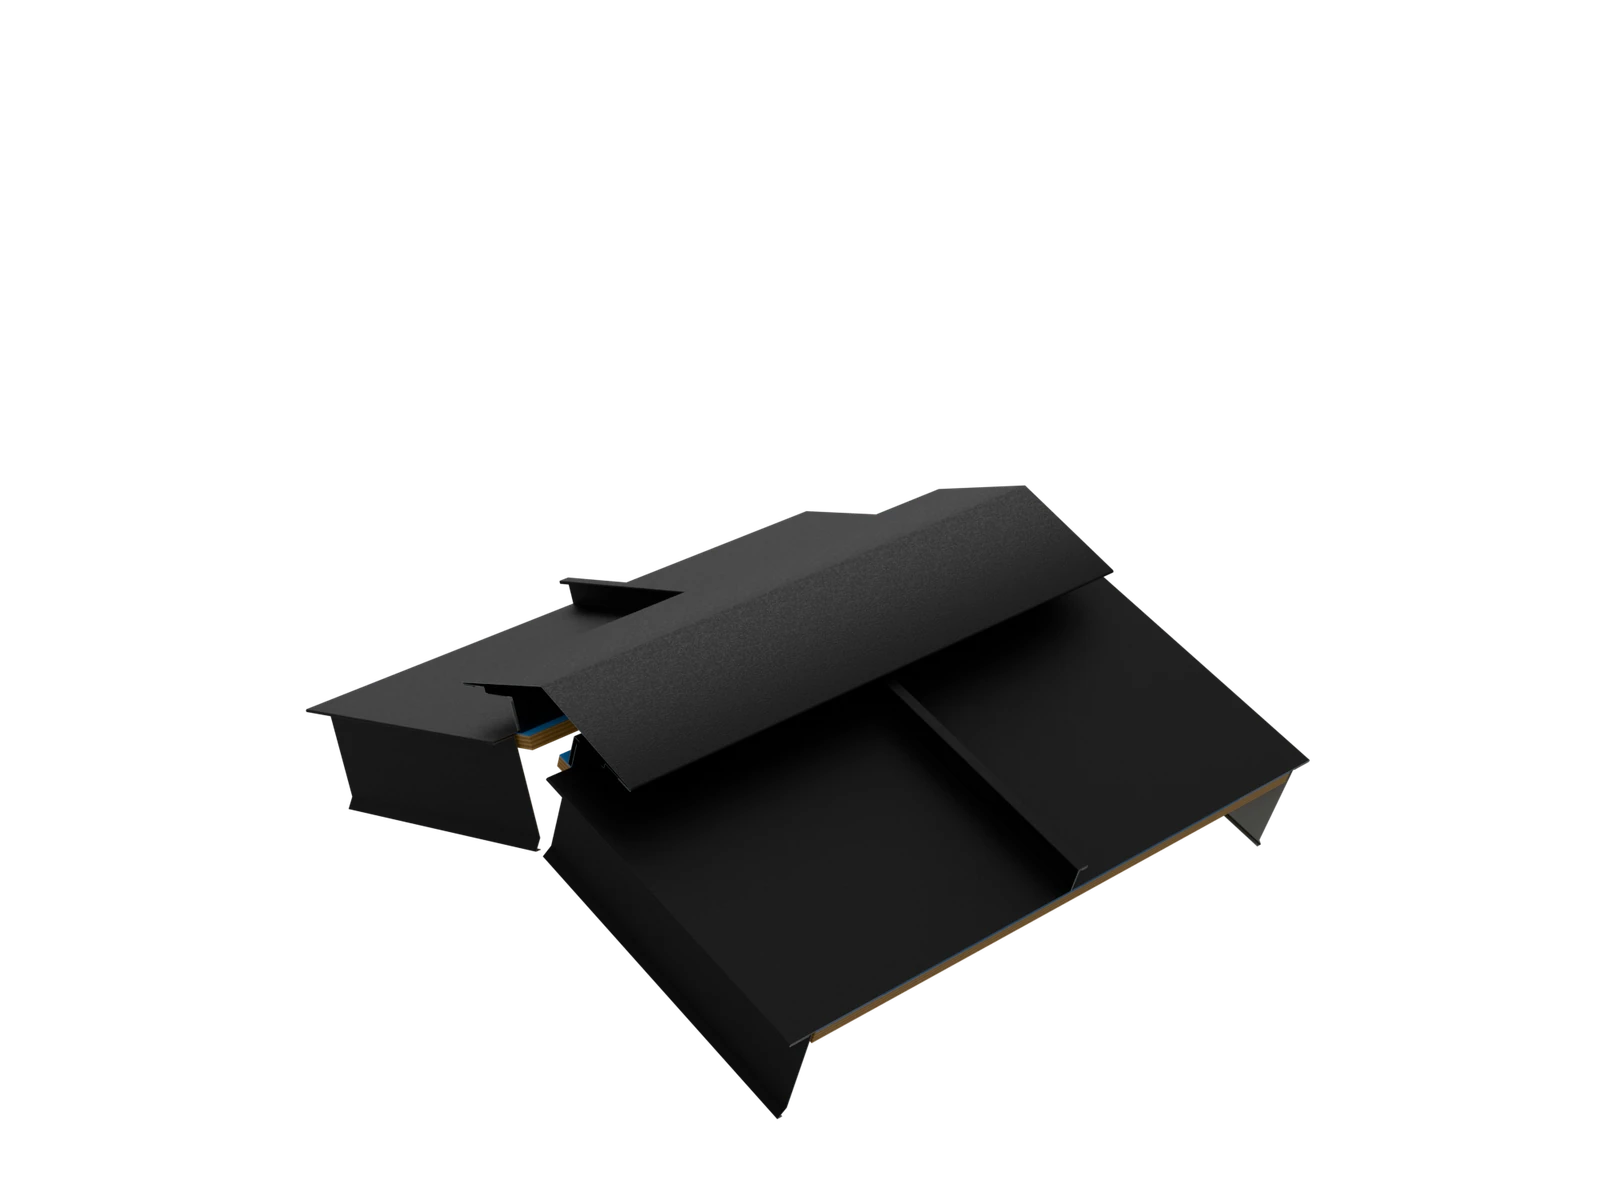
05 / Ridge
Upturned pans, perforated J-trims on both sides and a hemmed cap work together at the highest point of the roof.
A considered finish. A defined ventilation path.
The finished roof looks simple because the work beneath it is deliberate. This is the standard Jacob, Ken and Chris put their name behind.
Let’s build yours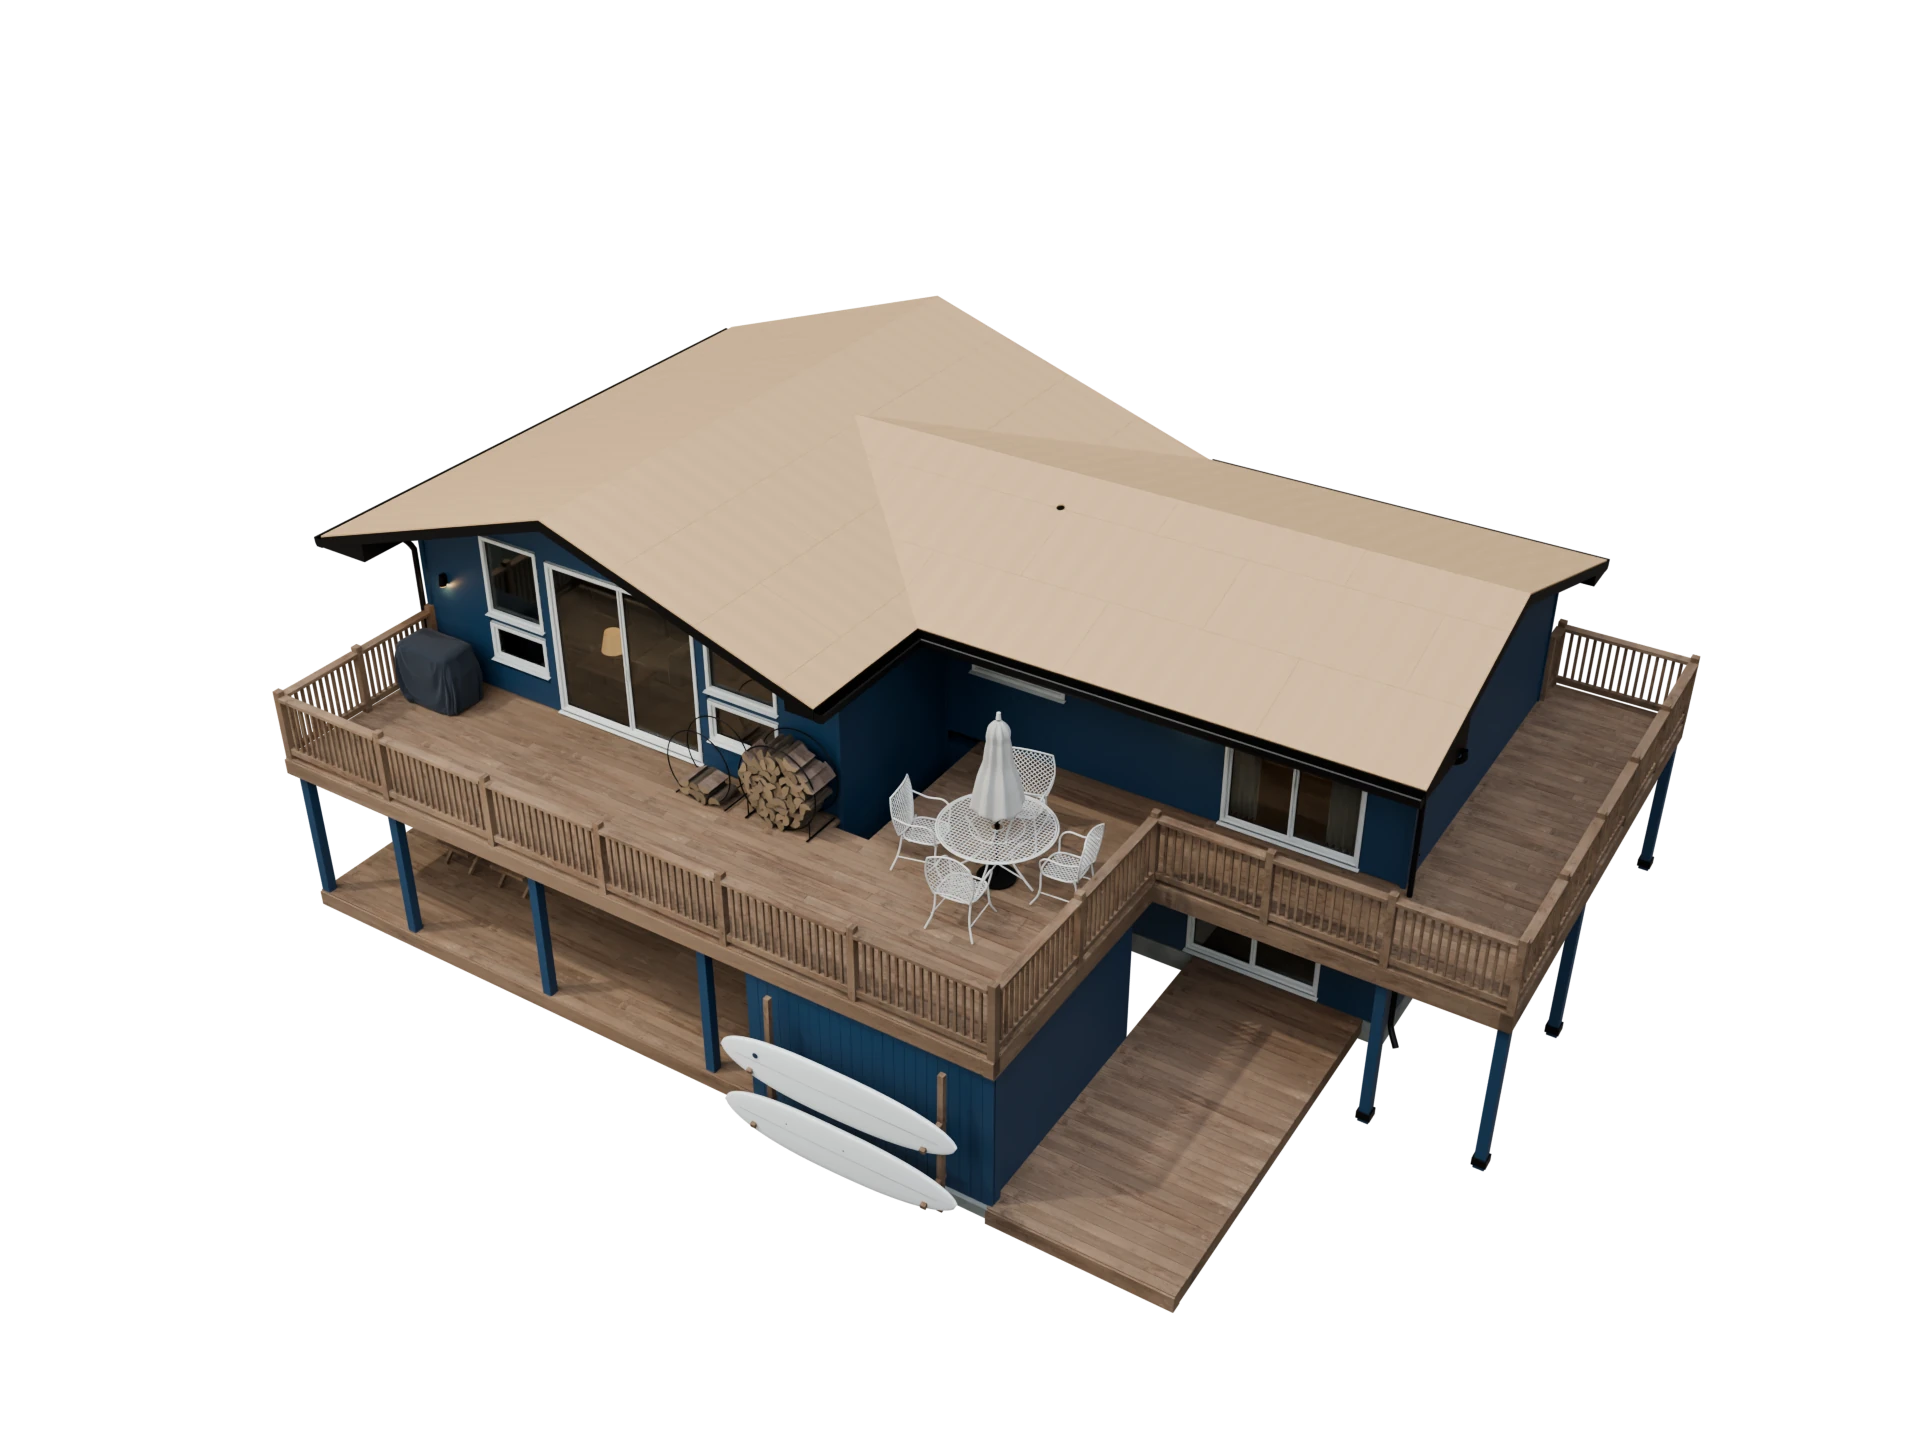
These detail studies explain our installation approach. Project-specific assemblies are reviewed with your plans.